


What is Poker Detox Coaching For Profits for Cheap?
- A preflop system organized into grids and quickly accessible for in-game reference
- How to use standard line instructions to execute an effortless exploitative strategy in common post flop scenarios
- My data-point analysis process to organize your thoughts when making difficult decisions
- How to pour on aggression in “hotspot” zones where mass database analysis has proven that the pool is over folding
- How to recognize severely under bluffed lines and make above-the-rim folds in seconds
- Why you should use texture and line pattern recognition, not combinatorics, to develop a detailed awareness of your opponent’s equity
- How to identify “code red” board textures to make advanced folds painless
- My simplified strategies for accurate post flop polarization
- Simple bet sizing tells to dramatically increase bluff catching efficiency
- How to tweak these instructions depending on your opponent’s HUD stats and tendencies to further increase your exploitative power
- How to identify and bluff catch against lines that draw high correlation to volatile players
- Advanced: The nature of polarization in a dead pot game—a concept most advanced players don’t understand
- Advanced: Non-binary thinking, or the ability to think about two opposing concepts at once
- How to manage tilt and develop natural confidence at the tables
- How to re-frame your perspectives on volume and variance for a healthier, more professional approach to the game
- The counter-intuitive solution to the vicious cycle of ownership-surrender imbalance
Poker Detox Coaching For Profits Index:
🖿 Ranges
📄 zjb.xlsm (133.62 KB)
🖿 Ranges
📄 BB_VS_BTN_2_5x.JPG (58.72 KB)
📄 BB_VS_BTN_2x.JPG (59.01 KB)
📄 BB_VS_BTN_3X.JPG (59.51 KB)
📄 BB_VS_UTG_2.5x.JPG (64.93 KB)
📄 BB_VS_UTG_3x.JPG (63.85 KB)
📄 BB_vs_Co_2.5x.JPG (64.41 KB)
📄 BB_vs_Co_3x.JPG (62.77 KB)
📄 BB_vs_MP_2.5x.JPG (61.36 KB)
📄 BB_vs_MP_3x.JPG (64.57 KB)
📄 BB_vs_Singleraise_notes.JPG (57.44 KB)
📄 bb vs btn 2.5x latest.JPG (54.98 KB)
📄 bb vs btn 2x latest.JPG (54.80 KB)
📄 bb vs btn 3x latest.JPG (53.28 KB)
📄 rfi latest.JPG (56.17 KB)
📄 sb bb iso latest.jpg (61.43 KB)
🖿 BB vs
📄 BB_VS_BTN_2_5x.JPG (58.72 KB)
📄 BB_VS_BTN_3X.JPG (59.51 KB)
📄 BB_VS_CO.JPG (60.02 KB)
📄 BB_VS_MP.JPG (56.59 KB)
📄 BB_VS_SB.JPG (61.41 KB)
📄 BB_VS_UTG.JPG (60.22 KB)
🖿 BTN vs
📄 BTN_VS_CO.JPG (56.77 KB)
📄 BTN_VS_MP.JPG (57.35 KB)
📄 BTN_VS_UTG.JPG (57.01 KB)
🖿 CO vs
📄 CO_VS_MP.JPG (57.49 KB)
📄 MP_CO_VS_UTG.JPG (57.74 KB)
🖿 Rfi
📄 RFI_Tier1-4.JPG (59.96 KB)
📄 RFI_Tier5+.JPG (57.34 KB)
🖿 SB vs
📄 SB_BB_VS_LIMP.JPG (73.05 KB)
📄 SB_VS_BTN.JPG (56.79 KB)
📄 SB_VS_CO.JPG (58.22 KB)
📄 SB_VS_MP.JPG (57.42 KB)
📄 SB_VS_UTG.JPG (57.22 KB)
🖿 vs 3bet
📄 BTN_VS_SB_BB.JPG (61.31 KB)
📄 CO_VS_BTN.JPG (56.53 KB)
📄 CO_VS_SB_BB.JPG (56.65 KB)
📄 MP_VS_BTN.JPG (57.10 KB)
📄 MP_VS_CO.JPG (56.18 KB)
📄 MP_VS_SB_BB.JPG (57.20 KB)
📄 SB_VS_BB.JPG (57.28 KB)
📄 UTG_VS_BTN.JPG (57.58 KB)
📄 UTG_VS_CO.JPG (56.66 KB)
📄 UTG_VS_MP.JPG (54.04 KB)
📄 UTG_VS_SB_BB.JPG (56.67 KB)
🖿 vs 4bet
📄 BB_VS_SB.JPG (55.88 KB)
📄 BTN_VS_CO.JPG (54.45 KB)
📄 BTN_VS_UTG_MP.JPG (57.09 KB)
📄 MP_CO_VS_UTG_MP.JPG (56.45 KB)
📄 SB_BB_VS_BTN.JPG (56.29 KB)
📄 SB_BB_VS_CO.JPG (55.45 KB)
📄 SB_BB_VS_UTG_MP.JPG (56.14 KB)
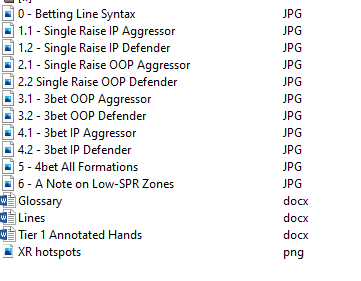
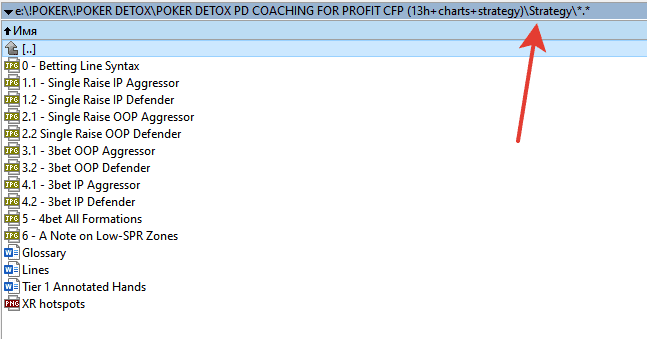
🖿 Strategy
📄 0 – Betting Line Syntax.JPG (61.78 KB)
📄 1.1 – Single Raise IP Aggressor.JPG (158.27 KB)
📄 1.2 – Single Raise IP Defender.JPG (59.45 KB)
📄 2.1 – Single Raise OOP Aggressor.JPG (90.74 KB)
📄 2.2 Single Raise OOP Defender.JPG (96.11 KB)
📄 3.1 – 3bet OOP Aggressor.JPG (101.12 KB)
📄 3.2 – 3bet OOP Defender.JPG (35.48 KB)
📄 4.1 – 3bet IP Aggressor.JPG (105.37 KB)
📄 4.2 – 3bet IP Defender.JPG (54.71 KB)
📄 5 – 4bet All Formations.JPG (19.33 KB)
📄 6 – A Note on Low-SPR Zones.JPG (27.17 KB)
📄 Glossary.docx (22.12 KB)
📄 Lines.docx (22.85 KB)
📄 Tier 1 Annotated Hands.docx (15.33 MB)
📄 XR hotspots.png (489.00 KB)
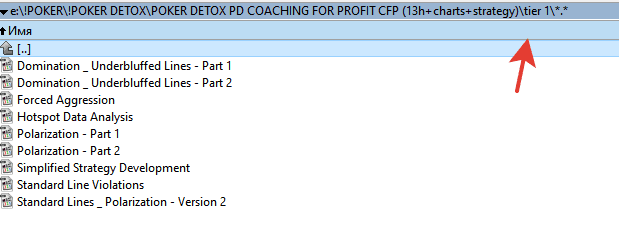
🖿 tier 1
📄 Domination _ Underbluffed Lines – Part 1.mp4 (60.44 MB)
📄 Domination _ Underbluffed Lines – Part 2.mp4 (51.80 MB)
📄 Forced Aggression.mp4 (81.49 MB)
📄 Hotspot Data Analysis.wmv (43.52 MB)
📄 Polarization – Part 1.mp4 (57.25 MB)
📄 Polarization – Part 2.mp4 (58.81 MB)
📄 Simplified Strategy Development.mp4 (180.71 MB)
📄 Standard Line Violations.mp4 (76.16 MB)
📄 Standard Lines _ Polarization – Version 2.mp4 (87.55 MB)
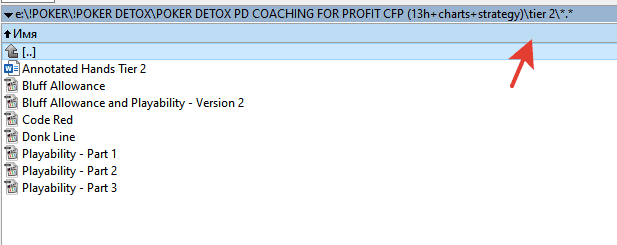
🖿 tier 2
📄 Annotated Hands Tier 2.docx (10.43 MB)
📄 Bluff Allowance and Playability – Version 2.mp4 (112.56 MB)
📄 Bluff Allowance.mp4 (78.05 MB)
📄 Code Red.mp4 (40.04 MB)
📄 Donk Line.mp4 (70.80 MB)
📄 Playability – Part 1.mp4 (55.90 MB)
📄 Playability – Part 2.mp4 (70.32 MB)
📄 Playability – Part 3.mp4 (69.91 MB)
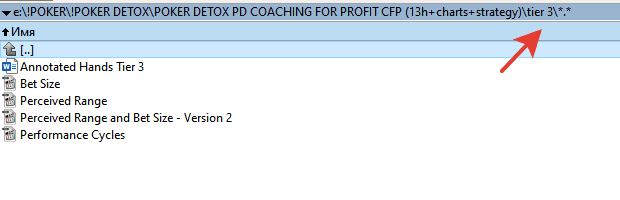
🖿 tier 3
📄 Annotated Hands Tier 3.docx (6.67 MB)
📄 Bet Size.mp4 (59.38 MB)
📄 Perceived Range and Bet Size – Version 2.mp4 (108.03 MB)
📄 Perceived Range.mp4 (58.94 MB)
📄 Performance Cycles.mp4 (95.95 MB)
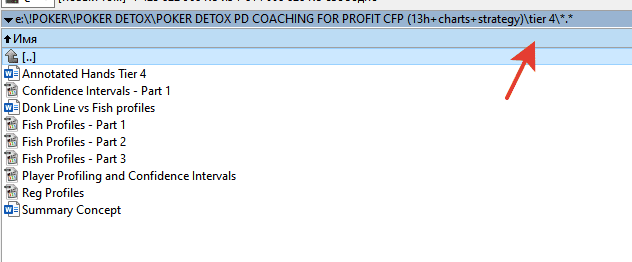
🖿 tier 4
📄 Annotated Hands Tier 4.docx (10.50 MB)
📄 Annotated Hands Tier 4.rar (9.98 MB)
📄 Confidence Intervals – Part 1.mp4 (41.15 MB)
📄 Donk Line vs Fish profiles.docx (13.23 KB)
📄 Fish Profiles – Part 1.mp4 (53.99 MB)
📄 Fish Profiles – Part 2.mp4 (46.24 MB)
📄 Fish Profiles – Part 3.mp4 (79.16 MB)
📄 Player Profiling and Confidence Intervals.mp4 (43.10 MB)
📄 Reg Profiles.mp4 (56.31 MB)
📄 Summary Concept.docx (331.03 KB)
 Feel free to reach out to our CHAT support for personalized assistance and detailed information tailored to your needs. We’re here to help!


Reviews
There are no reviews yet.